

1️⃣ Match Context
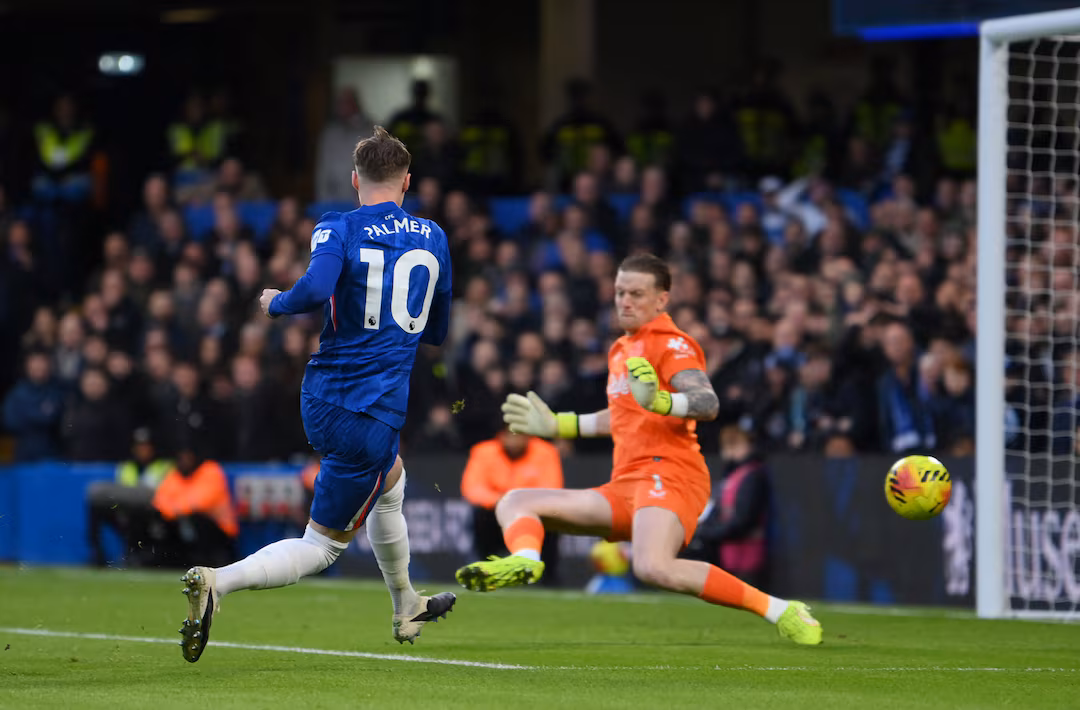
Everton vs Chelsea in late March isn’t just another Premier League date on the calendar. It’s the part of the season where incentives become sharp and mistakes become expensive.
For Everton, this type of home fixture often defines their spring: points earned here usually aren’t “expected” by the market, but they’re the points that tilt survival/security narratives or keep the club away from a nervy final month. The psychological pressure is simple—Goodison games like this can either validate weeks of work or unravel it in 90 minutes.
Chelsea arrive with a different weight. Their margin for error in the top-four/top-five chase (depending on the European spots dynamic) is typically thin at this stage. Drop points away at a low-block, high-emotion ground and the discourse changes instantly. And that matters: Chelsea’s young core has often looked excellent when controlling game state, and far more fragile when dragged into a fight.
Schedule congestion also quietly matters in March. Chelsea’s squad depth is better, but it can create rotation volatility—slight changes in midfield balance or fullback profiles can completely shift how they defend transitions. Everton’s fatigue risk tends to show late in games: if they’ve had to spend long stretches without the ball, the final 20 minutes become survival football.
2️⃣ Form & Advanced Metrics
Everton’s recent profile is usually more coherent than their results suggest. They’re rarely a “shot volume” monster, but they aim for shot quality through direct access into the box—early crosses, second balls, and repeated entries that force chaos. When their attack works, it isn’t pretty. It’s territorial pressure turning into scrappy high-value moments.
The trade-off is that Everton can be volatile defensively. They’ll often protect central space well for long periods, then concede one or two sequences where the midfield line gets stretched and opponents arrive at the top of the box with time. That’s where expected goals against (xGA) spikes—not from constant domination, but from a handful of premium looks.
Chelsea, meanwhile, typically live on the right side of the xG map: high shot volume and controlled territory. Their best spells are built on sustained field tilt—pinning teams in, recycling possession, and creating cutback-style chances rather than hopeful shots. When Chelsea are “on,” they don’t need to finish brilliantly to win; the chance flow eventually breaks you.
The key nuance is how Chelsea defend once possession breaks. Their pressing intensity (often reflected by a lower PPDA—fewer opponent passes allowed before a defensive action) can be strong, but it isn’t always stable across 90 minutes. If Everton can bypass the first wave—especially with direct balls into channels—Chelsea’s defensive line can be forced into awkward running patterns, which is exactly where set-pieces and second balls become dangerous.
Home/away splits matter here. Everton at Goodison usually add aggression and speed to their game. Chelsea away can still control the ball, but control doesn’t always mean control of risk: away matches tend to introduce more transitional sequences and more dead-ball situations, which helps the underdog.
3️⃣ League Table Snapshot
| Team | Position | Points | GD | Last 5 |
|---|---|---|---|---|
| Everton | 14th | 34 | -8 | W-D-L-W-L |
| Chelsea | 5th | 53 | +18 | W-W-D-L-W |
Takeaway: This snapshot typically reflects two different realities: Everton’s season is about avoiding negative runs, while Chelsea’s is about converting territorial dominance into points. The table gap is real—but so is the structural variance that shows up in away games at intense grounds. Chelsea can be better and still end up in a one-goal match.
4️⃣ Head-to-Head Analysis
This matchup often repeats the same tactical questions rather than the same scorelines. Chelsea usually own the ball and try to win through central overloads and half-space entries. Everton usually accept that, but aim to win the “second match”—the one that happens after Chelsea’s attack breaks down: throw-ins, corners, free-kicks, and broken transitions.
If we look deeper, the psychological pattern isn’t about fear; it’s about rhythm. Chelsea tend to look comfortable early when they can set their passing tempo. Everton tend to grow into these games when they can slow restarts, win aerial duels, and force Chelsea into defending their own box repeatedly. Past results in this fixture often hinge on one thing: whether Everton can turn a technically superior side into a physically uncomfortable one.
5️⃣ Tactical Breakdown (Core Section)
Who dictates tempo?
Chelsea will try to dictate the tempo with controlled possession, but Everton’s objective isn’t to “win the ball” as much as it is to disrupt the quality of Chelsea’s possession. Expect Everton to allow circulation in non-threatening zones, then jump aggressively on triggers—poor body shape from a receiver, a backward pass into a fullback under pressure, or a central midfielder receiving with a closed stance.
If Everton succeed, the game becomes segmented: short phases, more restarts, more aerial contests. That’s a friendlier environment for the home side.
Overload zones and where the game tilts
Chelsea’s most reliable chance creation tends to come from the half-spaces and cutback zones—getting to the byline isn’t the goal; arriving in the box with defenders facing their own goal is. Everton need compactness between fullback and centre-back, and they must protect the pocket at the top of the area where late runners arrive.
Everton’s attacking tilt is different. They’ll look for early deliveries, diagonals into the far post, and second-phase shots. That can look low-quality… until you remember how xG works in real matches: repeated box entries increase the probability of a high-value moment, even if the first shot is blocked.
Midfield control battle
This is where the match will be won. Chelsea’s midfield wants clean progressions into the final third. Everton’s midfield wants friction—contact, delayed releases, and forcing Chelsea to play one extra pass. If Chelsea can play through the middle, Everton’s back line will get pinned and the fullbacks will be dragged inside. That’s when cutbacks arrive.
If Everton can keep Chelsea outside and force more crosses from deeper zones, the shot quality drops. And the match becomes a probability game Everton can live with.
Pressing triggers and buildup resistance
Everton will likely press selectively rather than constantly. The key is not to get played through. Chelsea, for their part, need calmness in their first line. If their centre-backs and goalkeeper invite pressure but lack vertical outlets, Everton can create cheap territory and cheap set-pieces—exactly the currency they want.
Transition vulnerability
There’s a structural nuance here: Chelsea’s best attacks often commit numbers forward, especially when they sense control. That’s when Everton’s direct transitions become dangerous. They won’t need many. One clean outlet into the channel, one underloaded fullback zone, and suddenly Chelsea are defending a cross with their line running toward their own goal.
Set-piece dynamics
Set-pieces are Everton’s leverage point. Against a side that prefers clean, continuous football, dead balls are disruptive and high-value. Chelsea can defend them, but they can’t fully remove them—especially if Everton keep the game physical and win territory. If this match stays level into the second half, expect corners and wide free-kicks to become Everton’s best path to goal.
6️⃣ Odds & Market Evaluation
| Market | Everton | Draw | Chelsea |
|---|---|---|---|
| 1X2 (Average) | 4.20 | 3.50 | 1.85 |
Implied probabilities (raw): Everton 23.8%, Draw 28.6%, Chelsea 54.1%.
According to our calculations at betlabel.games, the more realistic split lands closer to: Everton 25%, Draw 27%, Chelsea 48%.
Market takeaway: The price assumes Chelsea’s control converts cleanly into a win more often than this specific venue and matchup style usually allow. There’s an edge, but it’s not a sledgehammer—more like a consistent inefficiency in away favorite pricing when set-piece and transition risk is elevated.
7️⃣ The Hidden Edge (Mandatory Section)
The market tends to price “Chelsea dominance” as if it automatically reduces variance. But dominance can increase variance when it comes with aggressive rest-defense trade-offs.
Here’s the angle: Everton don’t need to outplay Chelsea across 90 minutes. They need to force Chelsea into defending uncomfortable sequences—set-pieces, second balls, and fast counters after broken attacks. Those sequences are disproportionately influential in one-off matches against top sides, especially when the underdog has a clear aerial and territorial plan.
There’s also a subtle second-half pattern that often gets missed. Chelsea’s pressing intensity can drop after the hour mark, not necessarily because of fitness, but because game state and risk management change. If they’re level or only one up, their possession becomes safer, less vertical. That gives Everton a path back into the match through territory, and territory creates dead balls. The market often prices the first 60 minutes more accurately than the last 30.
Why the market is slow: recent Chelsea performances can look convincing on the scoreboard and in possession share, but that doesn’t always account for how many “one pass away” moments they concede when the opponent is direct and committed. Everton are exactly that opponent at Goodison.
8️⃣ Final Prediction
Main Pick: Everton +0.75 Asian Handicap
Alternative: Under 3.0 Goals (Asian Total)
Risk Level: Medium
Why these angles:
1) Matchup style inflates variance against the away favorite. Chelsea can control possession and still concede high-leverage moments through transitions and set-pieces.
2) Everton’s home approach is built for “staying alive” in elite matchups. They don’t need fluid chance creation; they need territory and dead-ball volume.
3) Pricing is slightly aggressive on Chelsea’s win probability. Our numbers keep Chelsea as the likelier winner, but not at a level that justifies a short away price without respecting Goodison friction.
No guarantees. Just a clearer view of where the risk actually sits.


Leave a Reply